Netlify offers a very simple way to put a J1 Template website online in just a few minutes: the 1-Click Deployment. With this workflow you can publish your site to the Internet without installing any software on your computer. In this tutorial you will use the 1-Click Deployment to create your very first J1 website online.
You need two services to run a 1-Click Deployment: GitHub and Netlify. Both platforms work together to build and host your J1 website on the Internet. The good news: both providers give you free access with no limits. That is not common — many digital services come with restrictions in their free tier. For that reason, GitHub and Netlify are a great entry point into modern web hosting.
If you do not have these accounts yet, sign up now to be ready:
| It is best to sign up on GitHub first. You can then use your GitHub account to sign in to Netlify, which saves you from creating yet another password. |
At the end of this journey — which only takes a few minutes — you will have your own website live on the Internet. You will not need to install any software on your computer, and you will not pay anything: your new website will be completely free.
Unbelievable? Let’s create your site now!
1-Click Deployment
Netlify has built a very simple process that takes a template like J1 and turns it into a live website on the Internet in just a few minutes. It really takes only one click — Netlify handles the rest.
| The 1-Click Deployment button below opens a new tab in your browser. The full step-by-step process is shown in the 1-Click Deployment Reference section further down on this page. To follow along easily, place the two browser windows side by side: this tutorial on one side, the Netlify deployment on the other. |
Ready? Click the button below to start the deployment on Netlify:
1-Click Deployment Reference
For your reference, here are all the steps of the 1-Click Deployment on Netlify. Each step has a short note that explains what is happening.
Start page
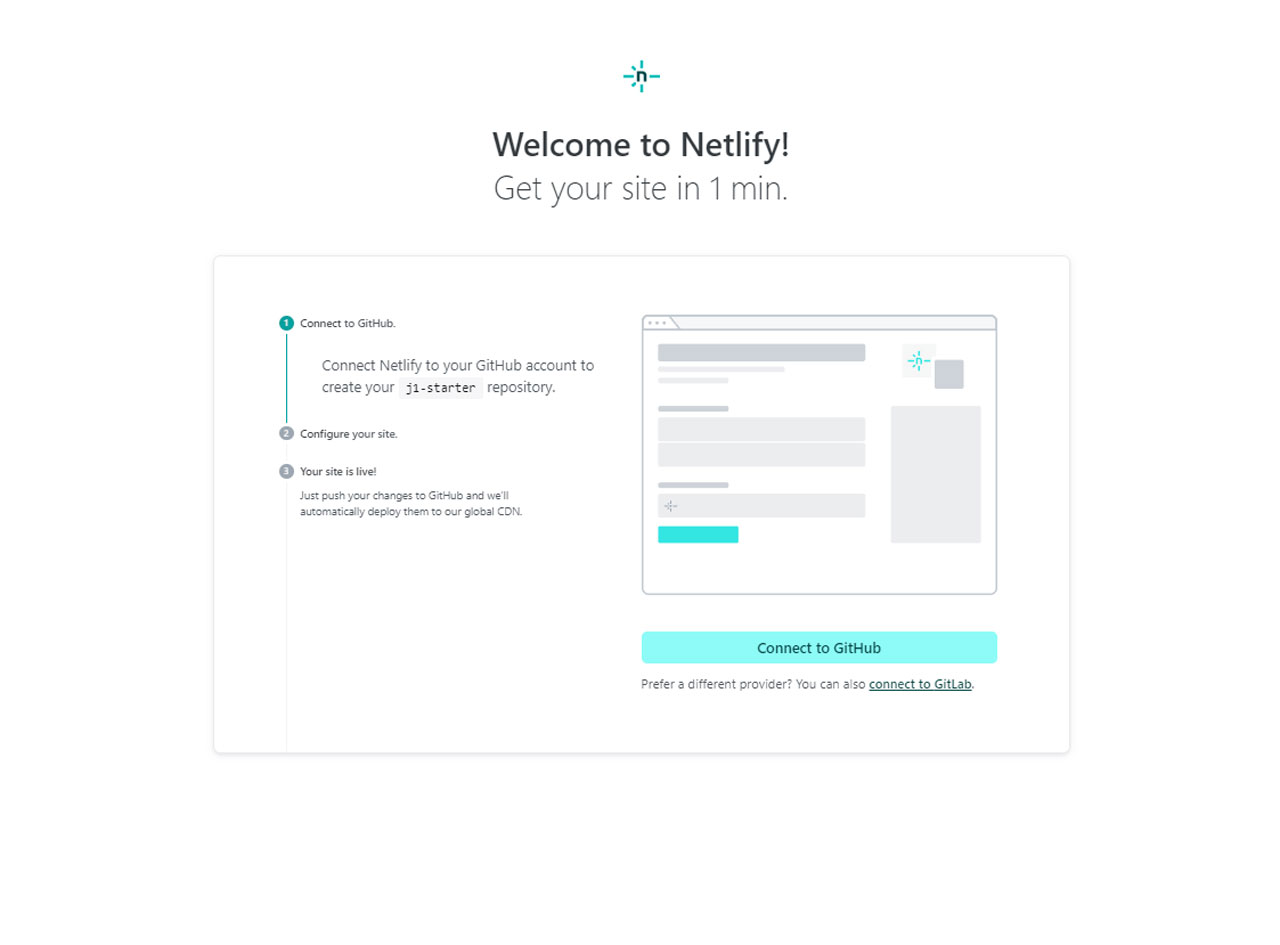
| The process map above shows all the steps of the deployment, so you know exactly what to expect along the way. |
Authentication processes
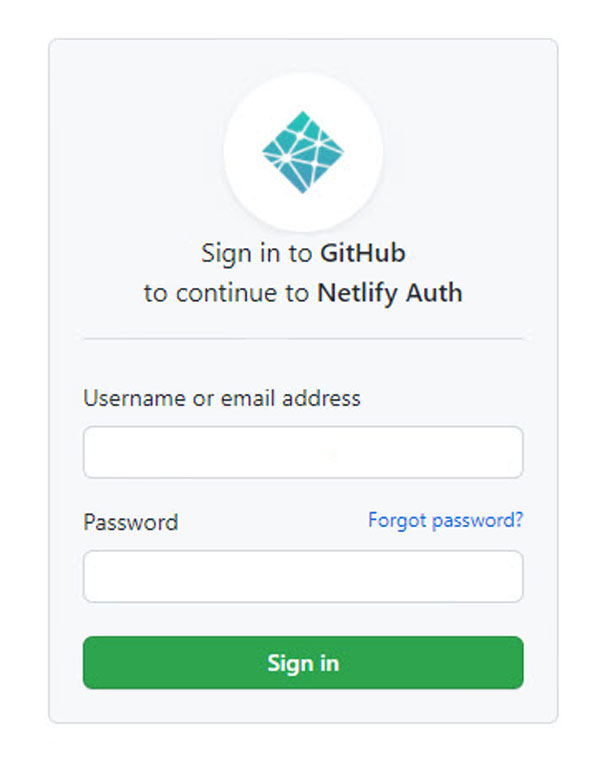
| To let Netlify access GitHub on your behalf, you first need to sign in to your GitHub account. |
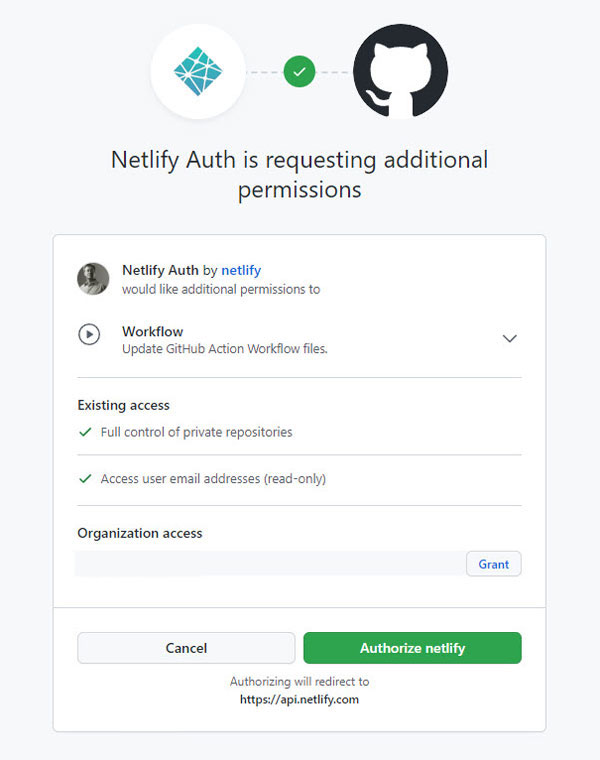
| Once you are signed in to GitHub, a secure connection is set up between Netlify and GitHub. This connection lets Netlify copy (clone) the J1 starter template into your own GitHub account as a new repository. From that moment on, the cloned repository is the source that Netlify uses to build your website. |
Configuration steps
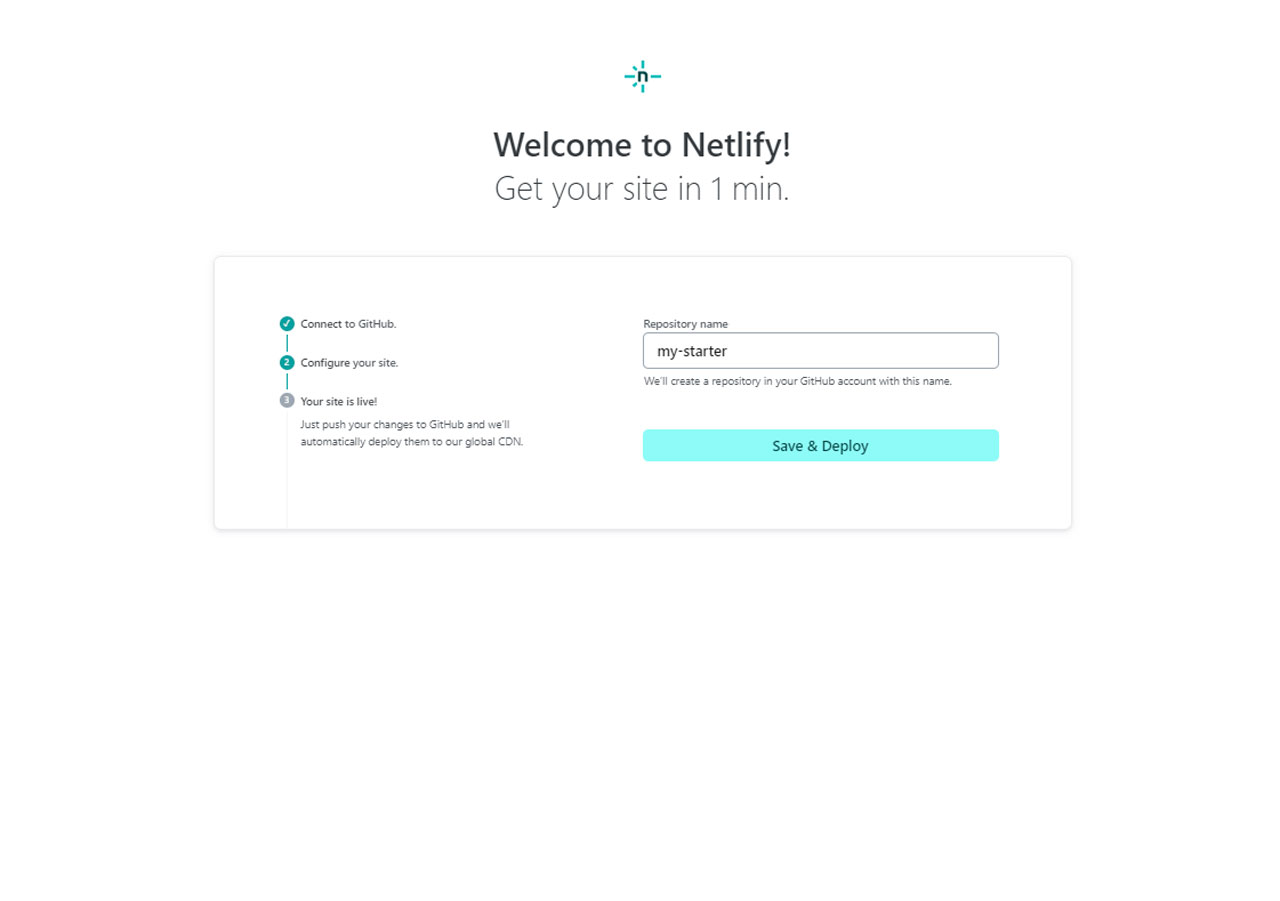
| In this step you can rename the default repository name j1-template-starter on GitHub to whatever you like. This GitHub repository will be used in all the next steps to automatically build and publish your new website. |
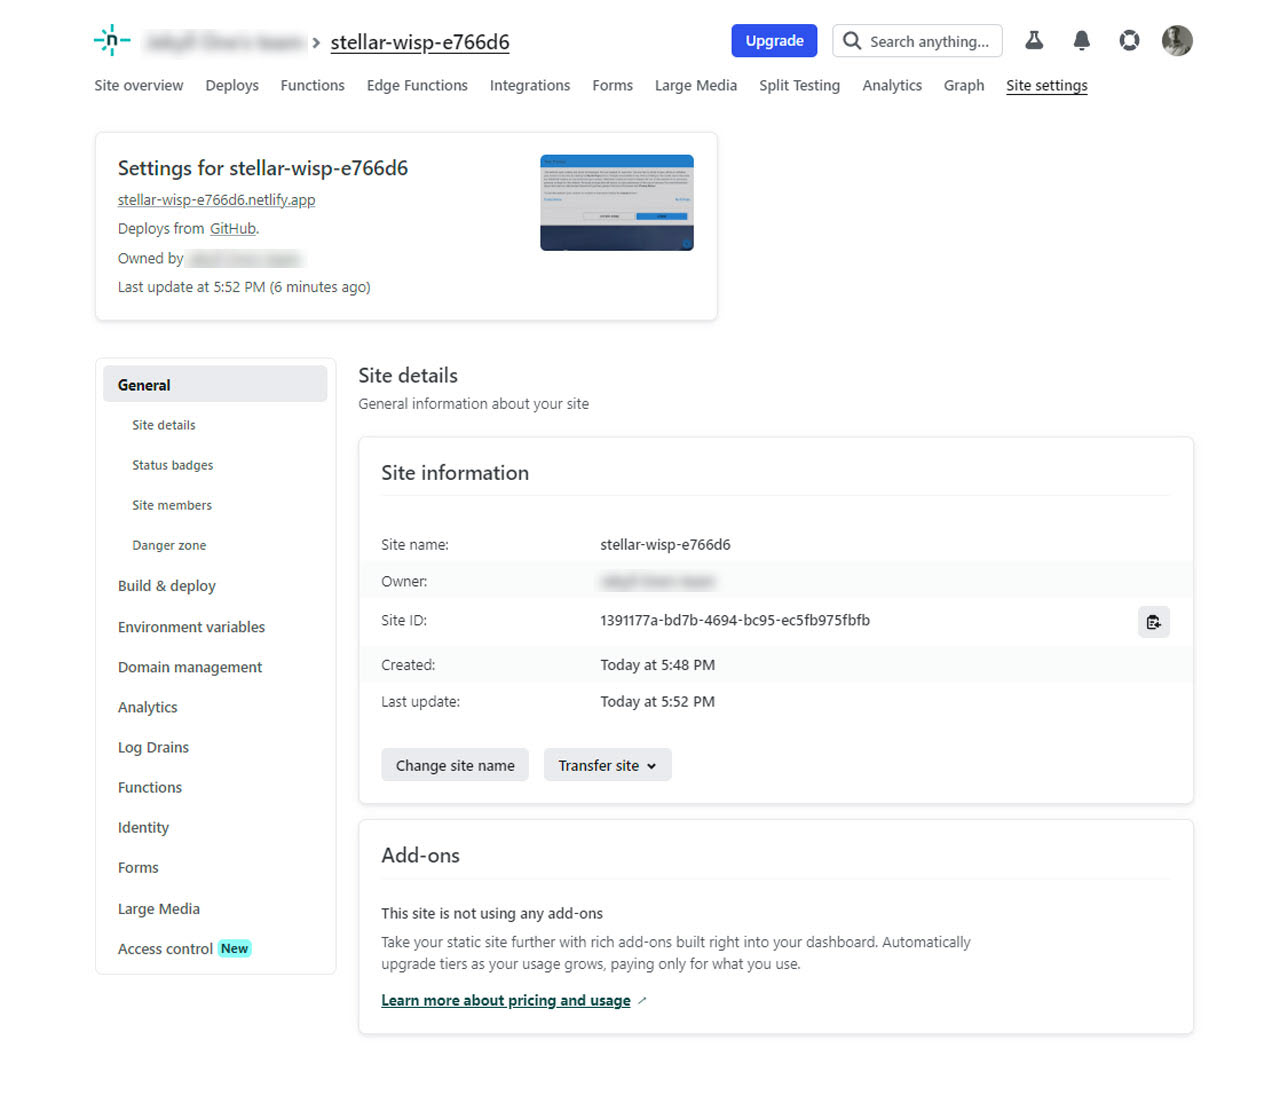
| When the build is finished, your new website is online — but Netlify gives it a random name (something like |
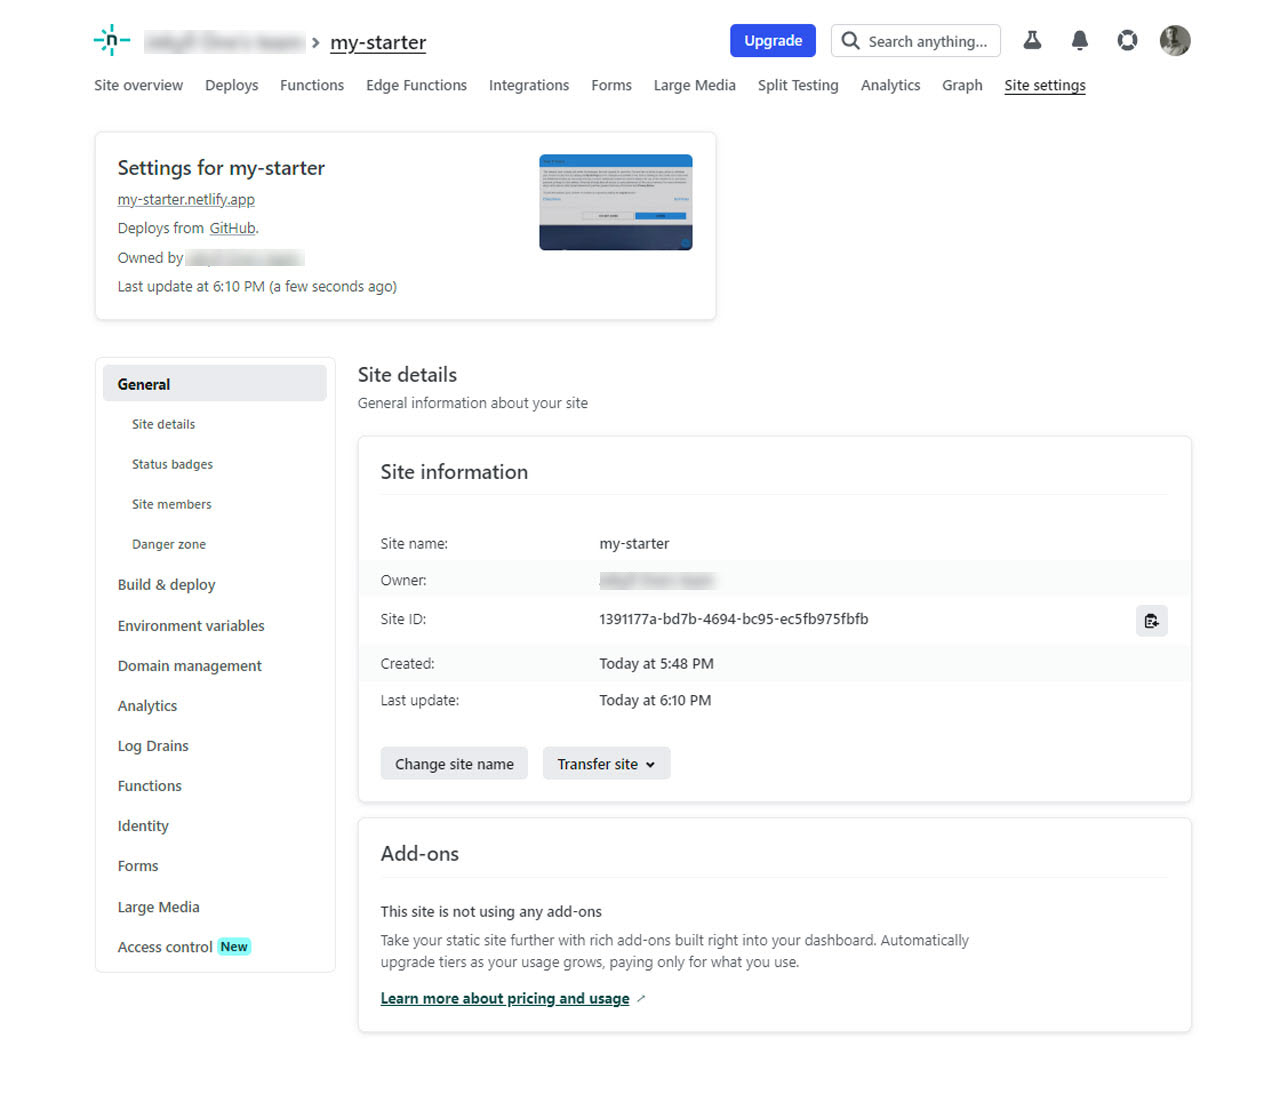
| The name you pick here becomes part of the public URL where visitors will find your website on the Internet. |
| After renaming the site, open it in your browser to see your new website live on the Internet. |
Your repo on GitHub
After Netlify has finished building and deploying your website, take a look at your GitHub account. You will find the new repository that was created for you.
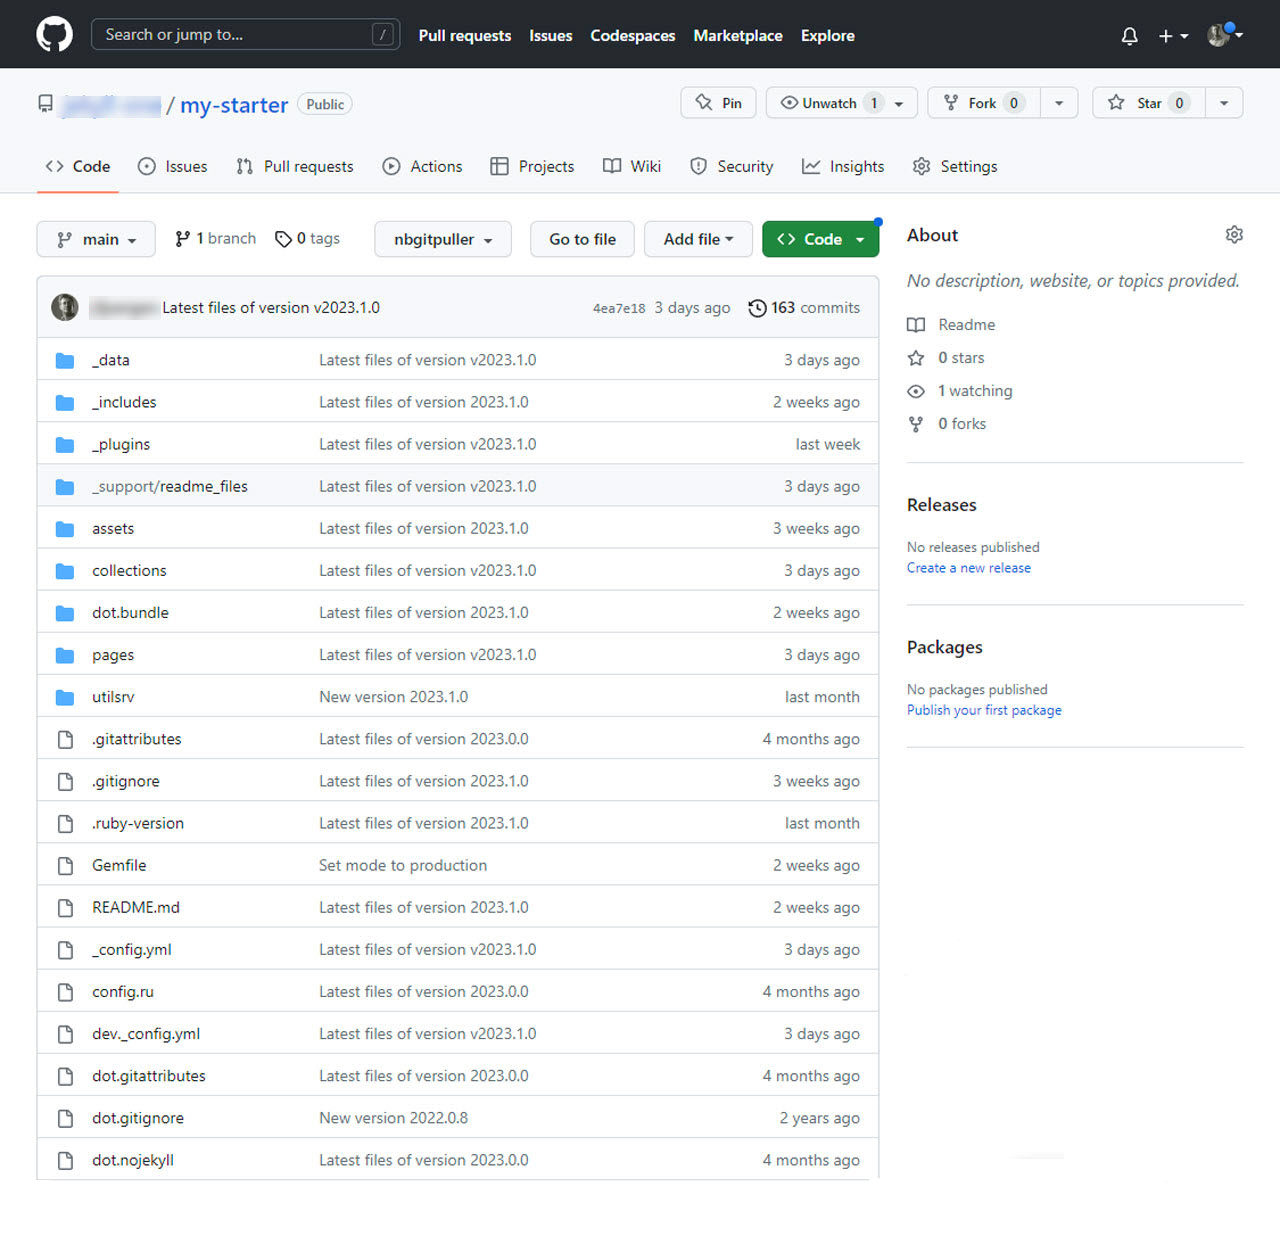
| From this repository view on GitHub you can manage all the settings of your new website online. For small changes this works fine, but it is not very comfortable for larger edits. The What next section below shows a much better way to manage your site’s content. |
Search Engine Optimization (SEO)
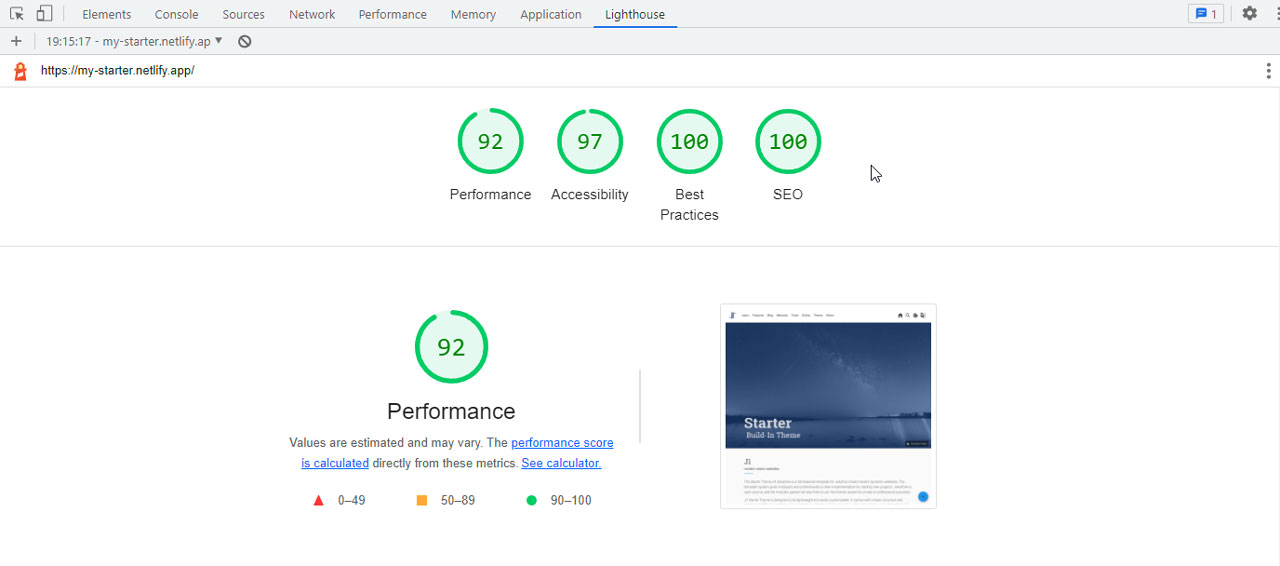
A website based on the J1 Template is set to development mode by default. If you check the SEO Quality Metrics calculated by Lighthouse, you will see decent numbers for performance — but not excellent ones. The reason: development mode is made to help developers see their changes quickly. It does not generate optimized code for production use.
You can read more about the SEO metrics calculated by Lighthouse on the SEO Quality Metrics page.
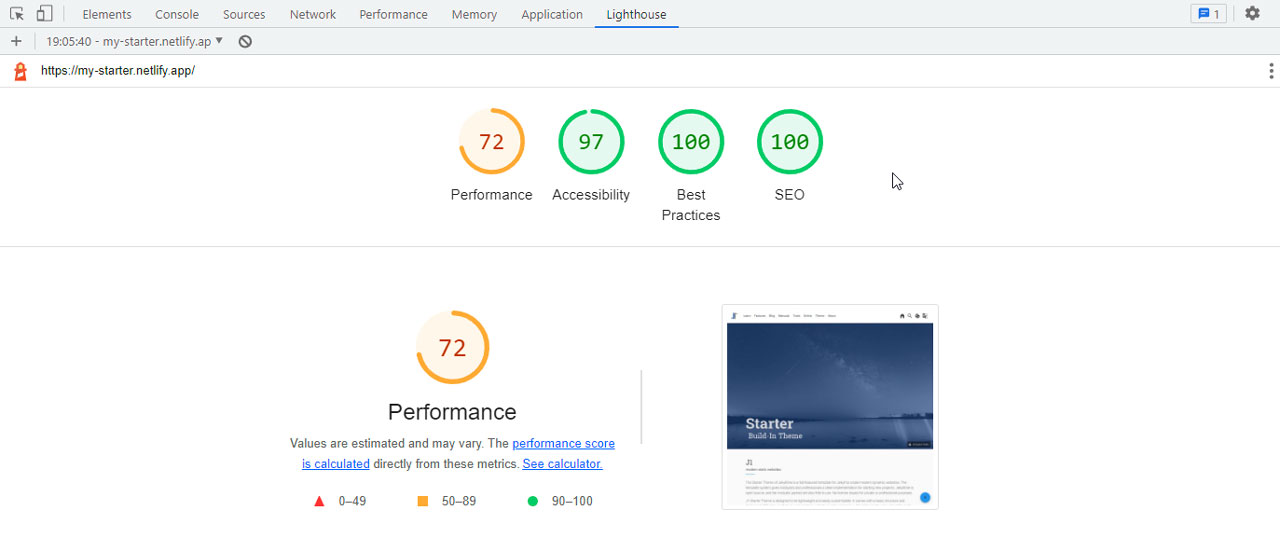
Production mode, by contrast, generates highly optimized code that is ready for high-performance public use. In production mode, all HTML, JS, and CSS files are fully compressed. In addition, all info and debug messages (the ones you see in the browser console) are removed; only warnings and errors are kept. Stripping out everything that is not needed gives you excellent performance and a more secure website.
What next
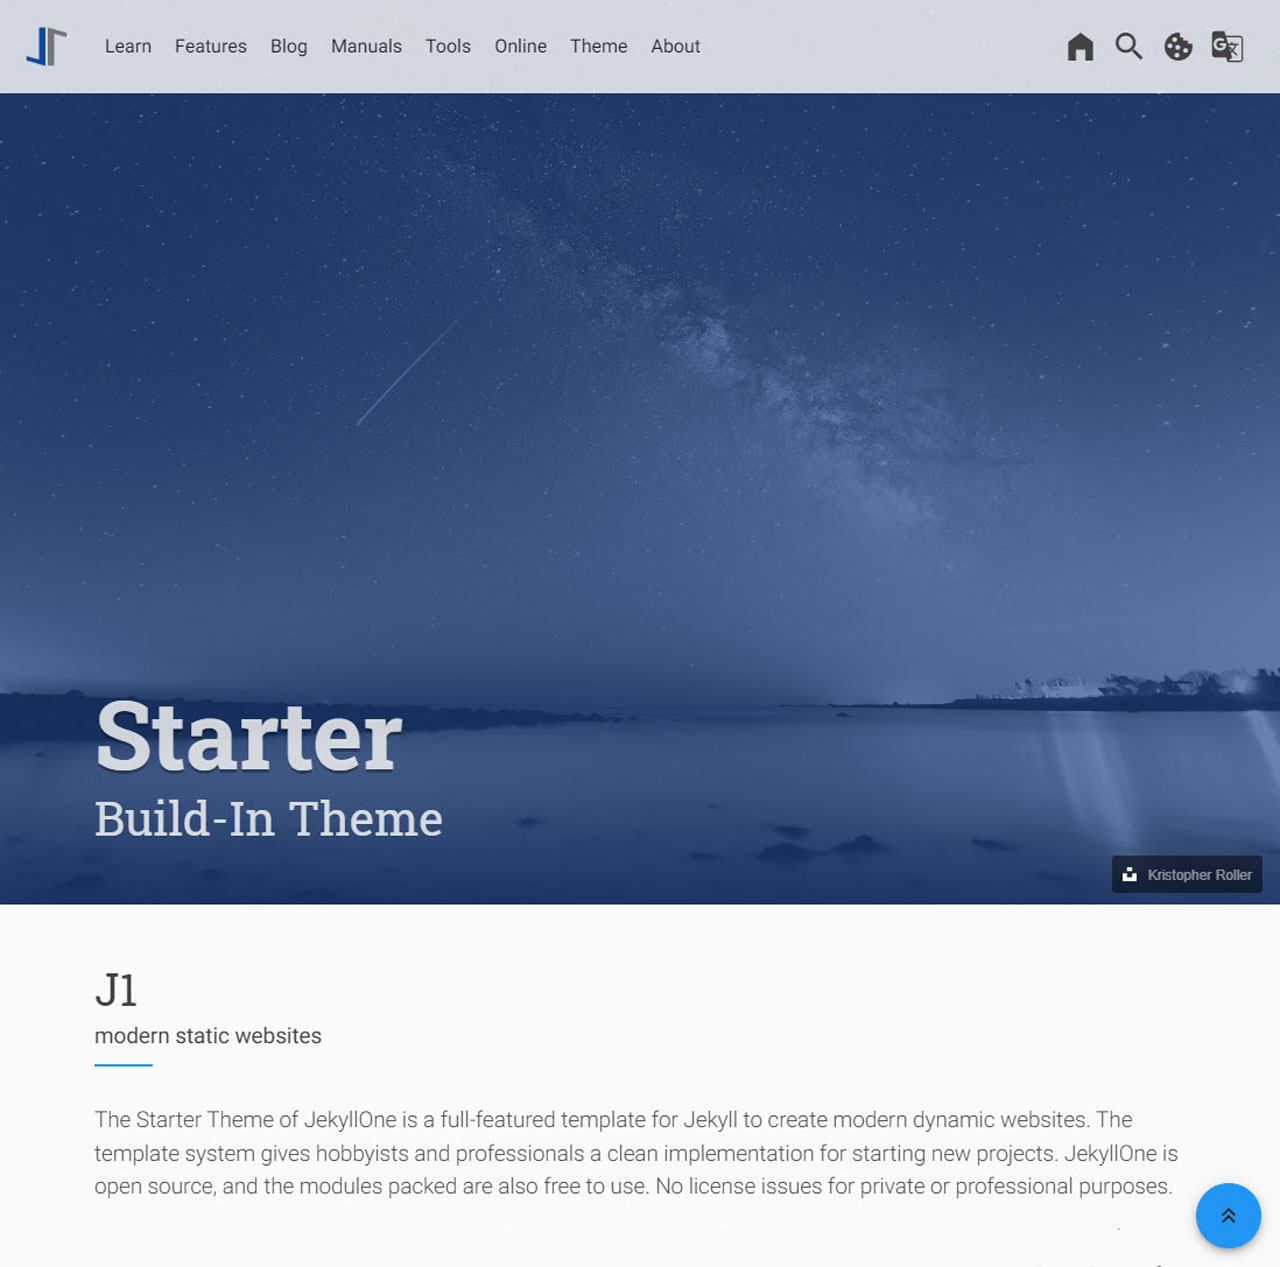
Well done! Your new website is online. It was built from the J1 Starter Web, a ready-made example site that ships with the J1 Template. It is not yet your site, of course, but it is a solid starting point for turning your ideas into something real.
And you are set up well: your control center on Netlify is ready, and your site lives in a repository on GitHub. Not bad! The next step is to make a local copy of your GitHub repository on your own computer, so you can start editing your site locally.
Developing a website is best done from your own PC. J1 comes with a full-featured development system. The local copy of your repository already contains everything you need to develop locally, including a built-in web server. And the best part: your control center on Netlify will automatically redeploy any changes you push back to GitHub. Again, all of this only takes a few minutes — there is no big hurdle to bringing your real website online.
Everything you need to know is covered in the next tutorial, J1 in a Day. It teaches you how to build websites with the J1 Template, covering the basics of Jekyll, how to manage a J1-based site, and how to deploy your changes.
Ready for the next step? Continue with J1 in a Day.