As you have just seen, you can put a J1 website online in a few minutes using the built-in Starter Web. This section is about something different: setting up the tools on your own computer so that you can edit your site locally.
Editing locally has two big advantages. First, it fits naturally with Git version control (which we will use to keep your site safe). Second, working locally is much faster and more comfortable than editing through a web interface.
Setting up all the required software takes a while. Depending on how often you install programs, you should plan for one to two hours. The good news: you only have to do this once.
Let’s begin assembling your toolkit for building websites.
10 Minutes to read
All Chapters
Find here an overview on all chapters this tutorial:
Meet & Greet
A awesome Site
You are here — Development System
Project Management
Creating Content
Required PC hardware
Any reasonably modern desktop or laptop computer will do. As a guideline, a typical setup looks like this:
-
a multi-core CPU — Intel i5 or AMD Ryzen 5 (or newer)
-
8 GB of RAM, with 3–4 GB free
-
an Internet connection with at least 16 Mbit/s of bandwidth (basic DSL)
-
a monitor with a screen size of 21 inches or larger
You don’t need top-of-the-line hardware, but a reasonably fast computer makes the work much more pleasant. You don’t want to wait long every time you save a change. A larger monitor is helpful too, because you will often have a code editor, a terminal, and a browser open side by side.
A laptop with a 15-inch screen can work, but expect to switch between windows more often than you would on a larger screen.
Work from command-line (Windows)
To manage J1 projects you will run a few commands in a shell (Windows calls this the command prompt). The easiest way to open a shell on Windows is to put a shortcut to cmd.exe on your desktop.
-
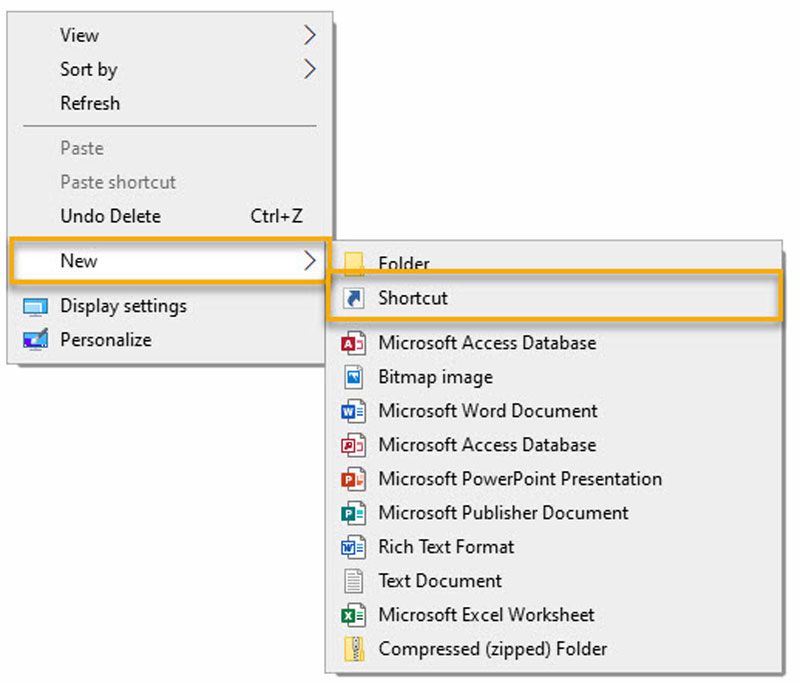
Right-click an empty area on your desktop. A context menu opens.
-
Choose New → Shortcut.
-
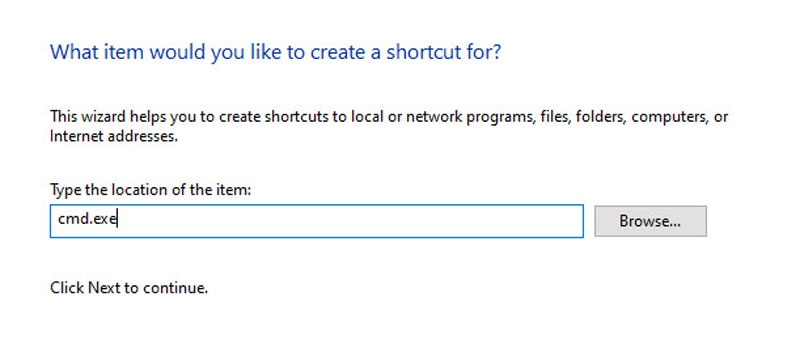
In the location field, type
cmd.exeand click Next. -
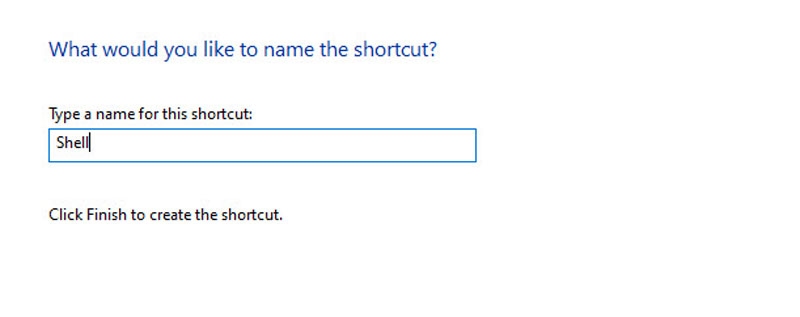
Name the shortcut
Shelland click Finish.
The screenshots below show each step in detail.
From now on you can open a shell any time by double-clicking that desktop icon.
Administrative Shells
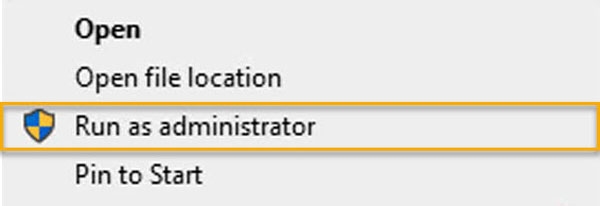
A few installation steps below need elevated operating-system rights. Working as an administrator should be the exception, not the rule — for this tutorial you only need it when installing or updating software that goes into system-wide directories.
To start a shell with administrator rights, right-click the Shell icon on your desktop and choose Run as administrator from the context menu.
That covers everything you need to prepare the installation. The next steps install the toolset for your development environment so that you can manage J1 projects from your own computer.
Development languages
Jekyll and the J1 Theme run on every current 64-bit operating system:
-
Windows 10 or Windows 11
-
Linux with kernel 4.15 or newer (e.g. Ubuntu 18.x LTS or newer)
-
macOS 10.10.5 (Yosemite) or newer
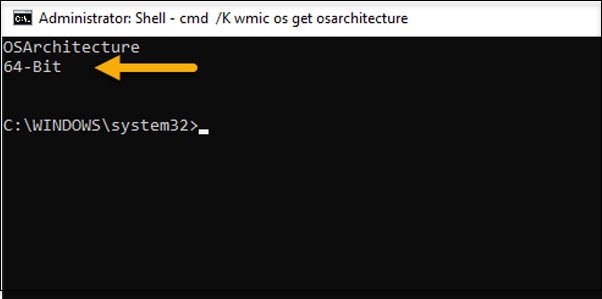
32-bit versions of Windows or Linux are not supported. If you bought your computer in the last few years it almost certainly runs a 64-bit operating system, but it is worth checking — especially on older home PCs. On Windows, you can find out which architecture is installed with this one-line command:
cmd /K wmic os get osarchitectureCopy the command, then paste it into the Windows search box on the taskbar (the magnifying-glass icon). A new window opens and displays your operating system’s architecture.
| All of the next installation steps require an active Internet connection. |
To run the development environment for J1 Theme you need these two programming languages installed:
-
Ruby, version 2.7 or higher (version 3 is recommended)
-
NodeJS, version 16.x to 18.x (npm v8.5.0 or higher)
For Windows, you can download both installers from the links in the following table.
| Language | Architecture | Download |
|---|---|---|
|
| |
|
|
Download both installers first. You will need them in the next two sections.
| You need administrator rights on your computer to install these development tools, because the software is installed system-wide into privileged directories. On Windows those directories are typically |
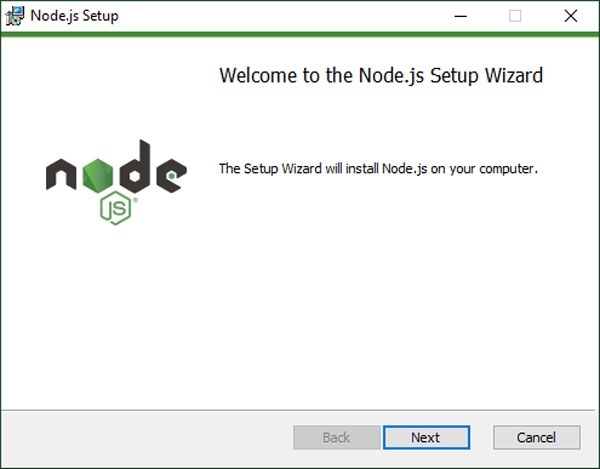
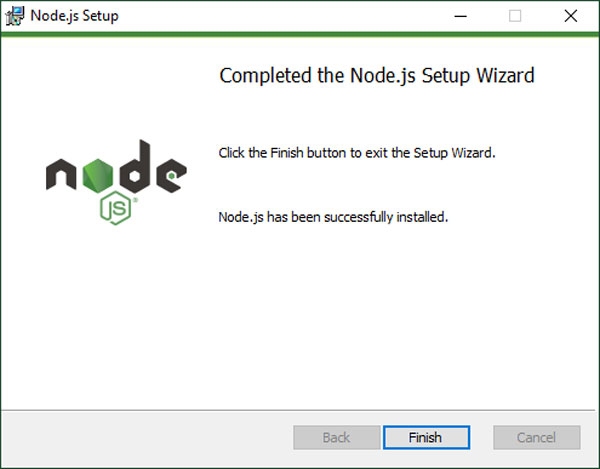
Install NodeJS
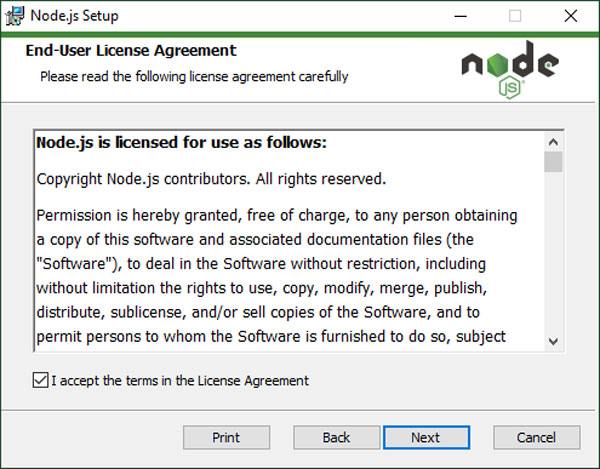
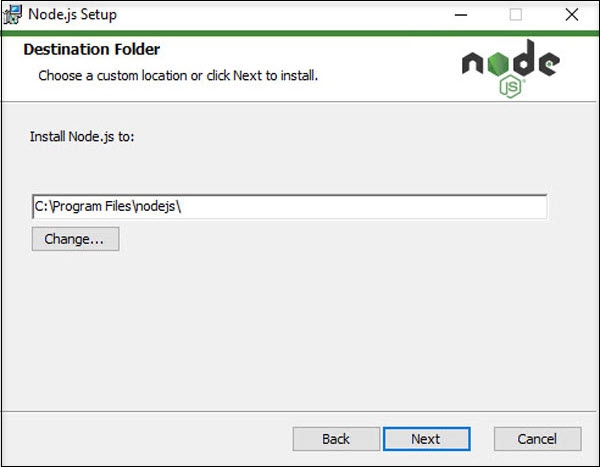
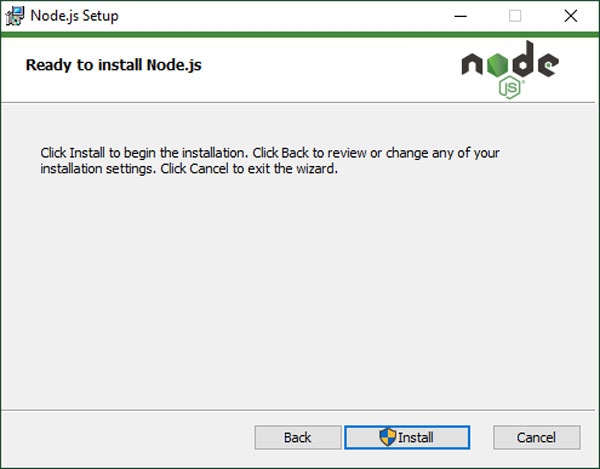
The NodeJS installer (for example node-v14.21.3-x64.msi) was saved to your default Downloads folder. Start it directly from your browser, or open the Downloads folder and double-click the installer there.
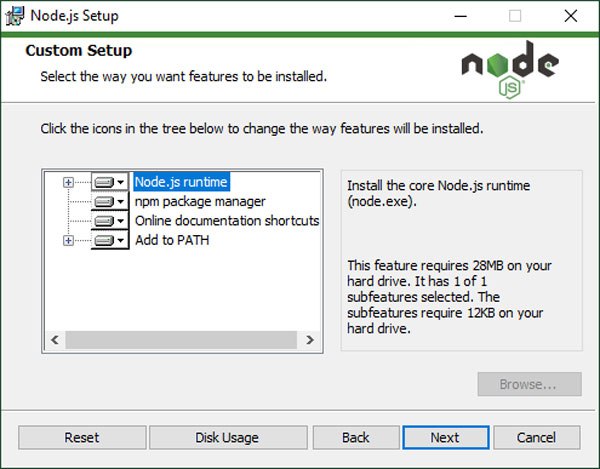
| On the Additional tools step of the installer, you will be offered the NodeJS DevKit. These tools are not required for the J1 development environment, and you should not install them now. The DevKit contains build tools for compiling platform-specific NodeJS modules. On Windows that is a fairly complex process. If you need it later, you can install the DevKit separately at any time. |


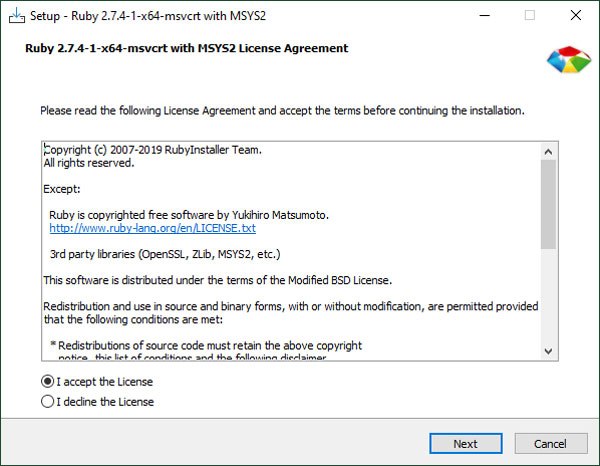
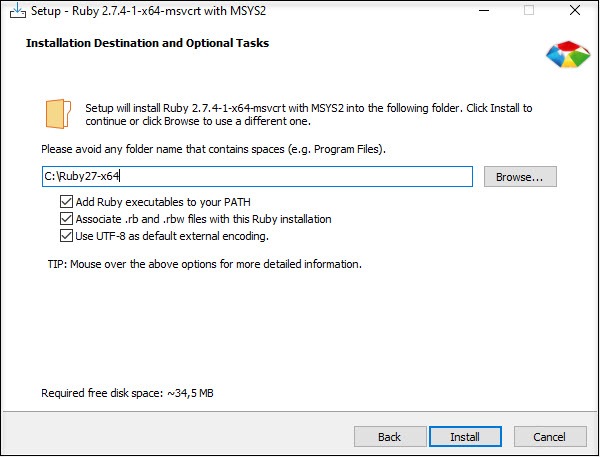
Install Ruby
Installing Ruby works much like installing NodeJS. Many of the steps look the same, so the description below is shorter and skips the screens you have already seen.
The Ruby installer (for example rubyinstaller-devkit-3.1.3-1-x64.exe) was saved to your default Downloads folder. Start it directly from your browser, or open the Downloads folder and double-click it.
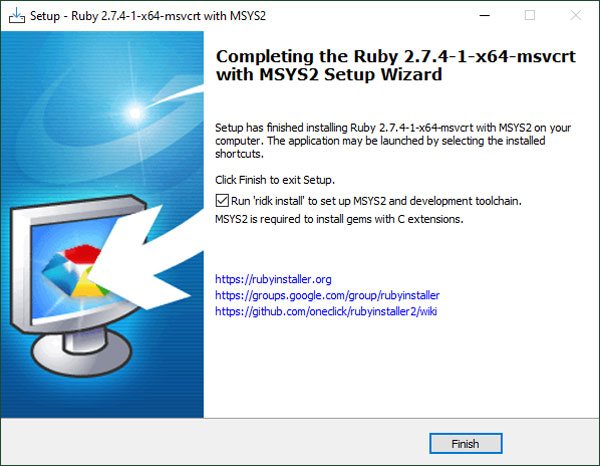
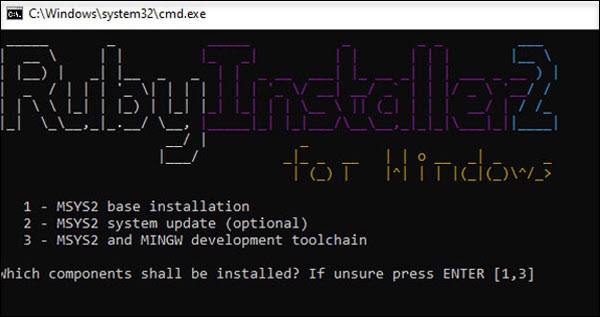
| On the final step of the Ruby installer choose option 3 to install all DevKit components. Press Enter to complete the installation. |
The first part of setting up your development environment is now finished. A few additional components and updates are still needed before you can work with J1. After that, the J1 Template itself can be installed.
Additions and Updates
After installing NodeJS and Ruby, you need to add a few extra components and apply updates to work smoothly with J1.
You can apply all of them directly from the command line. Because some updates touch system-wide files, you need to run a shell with administrator rights on Windows. Open one now, as described in the section Administrative Shells.
NodeJS
NodeJS uses a package manager to install and manage its modules (libraries). The package manager that comes with NodeJS is called NPM (short for Node Package Manager). There is also a popular alternative called Yarn.
| Yarn was originally developed at Facebook and can be used in place of NPM. The two behave similarly, but Yarn commands are usually a little shorter and easier to type. The rest of this tutorial uses Yarn because it is friendlier on the command line. |
To install the latest versions of NPM and Yarn, copy the following command and paste it into your administrator shell:
npm install -g npm@latest && npm install -g yarn@latest (1)| 1 | The -g switch performs a global installation, so the tools are available to every user on the computer. |
Ruby
The Ruby installer is often several months older than the very latest versions of Ruby’s built-in base components. It is a good idea to update the most important parts of your Ruby installation to the current versions.
Bundler
Ruby modules (called gems) come in many versions. Different projects often need different versions of the same gem. If two projects on the same computer expect different versions of the same gem, you can end up with mysterious errors. To solve this problem in a clean way, Ruby developers use a gem called Bundler.
| Each project lists the gems it needs (and the exact versions) in a configuration file called |
Bundler reads a Gemfile, downloads the right versions of every gem, and makes them available to the project. Bundler itself must be installed system-wide in Ruby’s privileged directories. Copy the following command into your administrator shell:
gem install bundler --no-documentRubyGems
RubyGems is the package manager for Ruby itself — it is the program you called when you typed gem install. RubyGems is in turn delivered as a gem named rubygems-update. Updating RubyGems is a good idea because the version that ships with the Ruby installer can be several months out of date.
The update commands look the same as for any other gem. RubyGems must be installed system-wide, so run them in your administrator shell:
gem install rubygems-update --no-document && ^
update_rubygems --no-document && ^
gem update --system
Checking versions
The hard part — installing and updating NodeJS and Ruby — is now done. The good news is that you rarely need to repeat it. Keeping these tools current prevents a whole class of obscure problems that are otherwise hard to track down.
From now on you do not need an administrator shell. Close the shell you started as administrator and continue with a regular user shell instead. Running commands as a normal user makes sure that programs cannot make unexpected changes to your operating system. Better safe than sorry.
Open a shell from the Command prompt icon on your desktop and copy these commands to display the installed versions of NodeJS and Ruby:
cls && ^
echo|set /p dummyName="NodeJS          " && node --version && ^
echo|set /p dummyName="NPM             " && npm --version && ^
echo|set /p dummyName="Yarn            " && yarn --version && ^
echo|set /p dummyName="Ruby (Core)     " && ruby --version && ^
echo|set /p dummyName="RubyGems        " && gem --version && ^
bundler --versionNodeJS v14.19.3 NPM 6.14.17 Yarn 1.22.17 Ruby (Core) ruby 3.1.3p185 (2022-11-24 revision 1a6b16756e) [x64-mingw-ucrt] RubyGems 3.3.26 Bundler version 2.3.26
If you run into trouble later, the output of these version checks is the first thing to look at. Many problems with Jekyll and J1 turn out to be caused by an outdated version of one of these tools.
Development tools
The essential tools for managing and editing a J1 website are:
-
Git, the version-control system
-
GitHub CLI, the GitHub command-line interface
-
a source-code editor (for example Atom)
Git keeps track of every change you make to your J1 project. With Git on your side, you have a complete history of your site and a very safe backup of all your project data on GitHub. Even if you break your local working copy beyond repair, you can always go back to a previous working version.
Git also protects you from serious data loss. You will start by creating a development branch — a parallel line of work where you can test changes without touching the main version of your site. You will see how useful this is when you start making big changes: your live site is never put at risk.
Download the latest version of Git for Windows from here (current as of 03/23): Git v2.40.0.
A powerful source-code editor like Atom is a developer’s most-used tool — it is the place where you spend most of your time. Editors typically come with many built-in features and you can install plug-ins for the rest.
If you already use a code editor that you like, by all means stick with it. You will not need to change.
If you have never used a code editor before, take the time to install one now. Yes, it is one more new tool to learn, but it will save you hours of work in return.
Installing programs is rarely exciting. To make it less tedious, the screenshots of every installer dialog below come with a short explanation, so you also pick up some technical terms along the way.
The notes will also help you pick the right options where the installer asks you something.
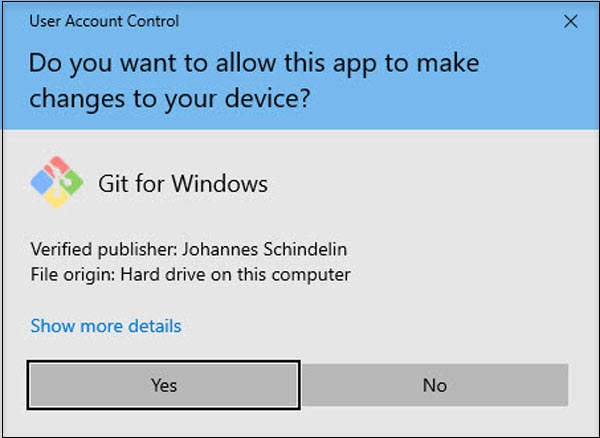
Install the version control system Git
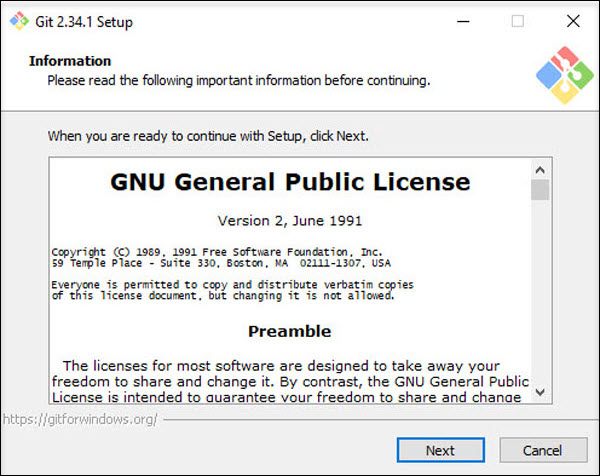
The Git installer asks a lot of questions. The individual steps are commented below so you understand what each dialog is for.
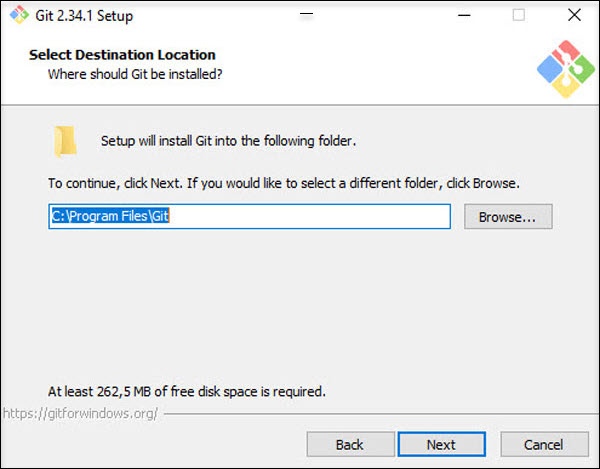
| To protect your Git installation from accidental changes, use the default (privileged) path |
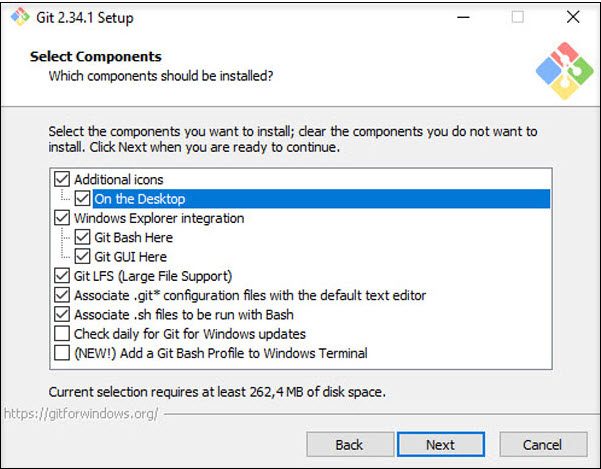
| The default selections make sense. If you would also like a handy desktop icon, tick the Additional icons option. |
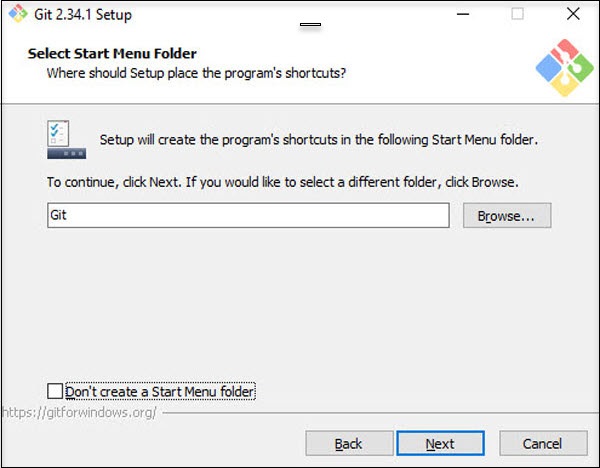
| On Windows, it is a good idea to create an additional folder in the Start Menu. If you ever lose your desktop icons, you can always find your important applications from there. |
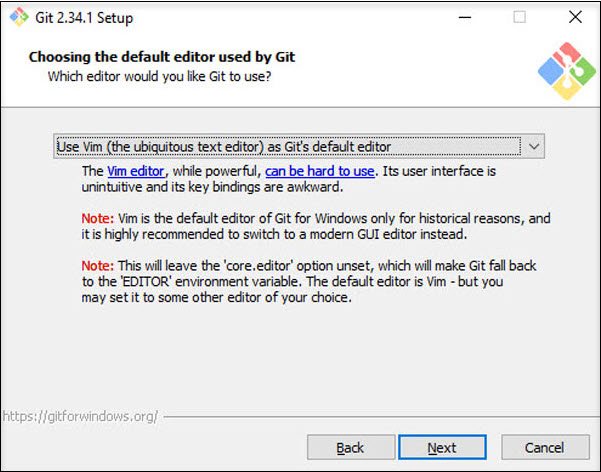
| Every change you commit to a Git repository is accompanied by a short commit message that describes what changed. You can write that message on the command line ( The default editor for Git is |
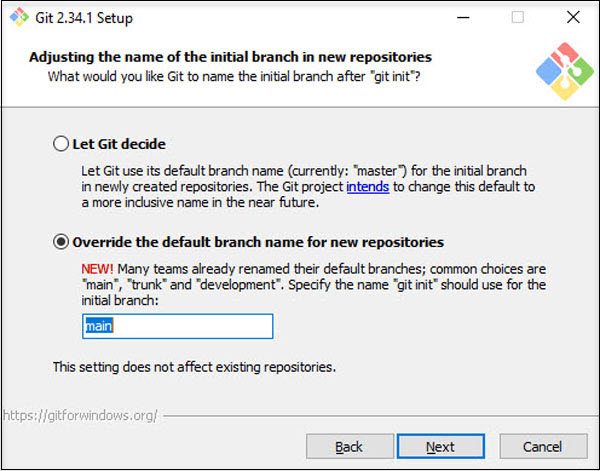
| A branch in a Git repository is the name of the current line of changes. For historical reasons the main branch used to be called master. That name is no longer the standard today; modern projects (and GitHub itself) use main. Pick main here so your repository matches GitHub’s default. |
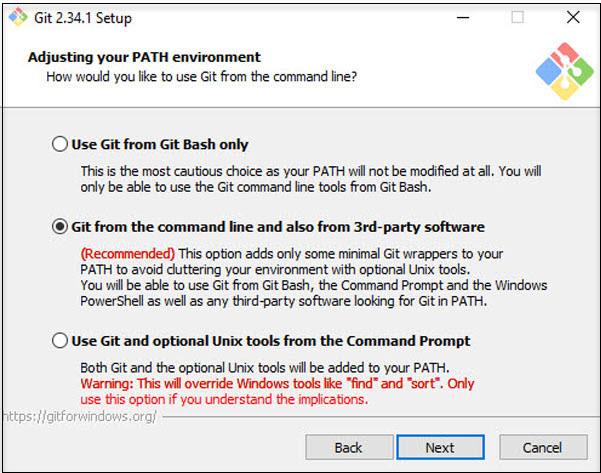
| Git was originally developed on Unix systems like Linux. The Windows version of Git uses real Unix-style commands under the hood, through a compatibility layer called MSYS. Some of these Unix commands (for example The default option avoids conflicts between commands that happen to share the same name, so we highly recommend keeping it. |
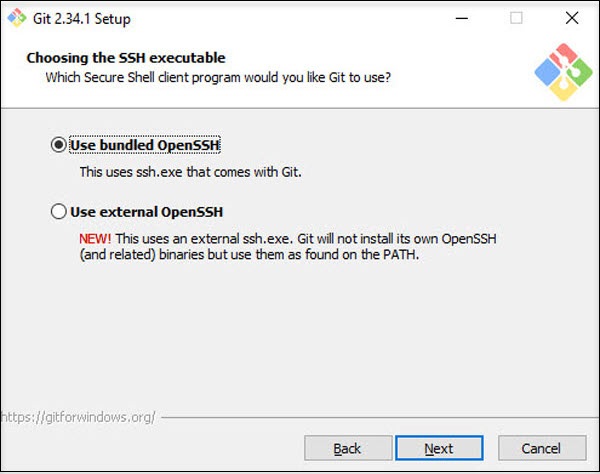
| As mentioned, Git comes from the Unix world. On Unix-like systems the Secure Shell (SSH) subsystem is widely used to create secure, encrypted connections. Windows does not include SSH by default. For most Git installations on Windows, the default option (use the bundled OpenSSH subsystem) is the right choice. |
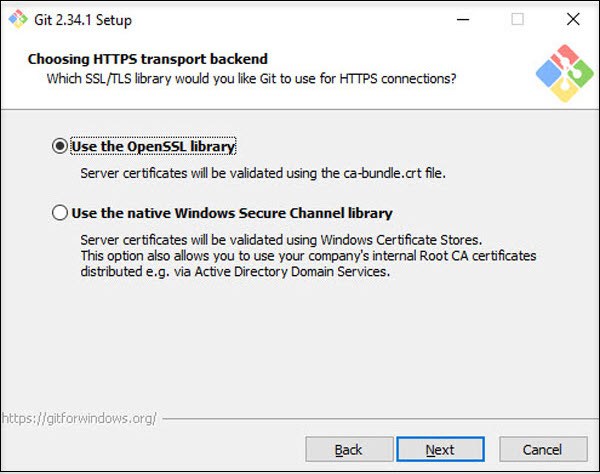
| Similarly, SSL libraries are not available on Windows by default. SSH itself relies on SSL to establish secure encrypted connections. For compatibility, keep the default option (OpenSSL). |
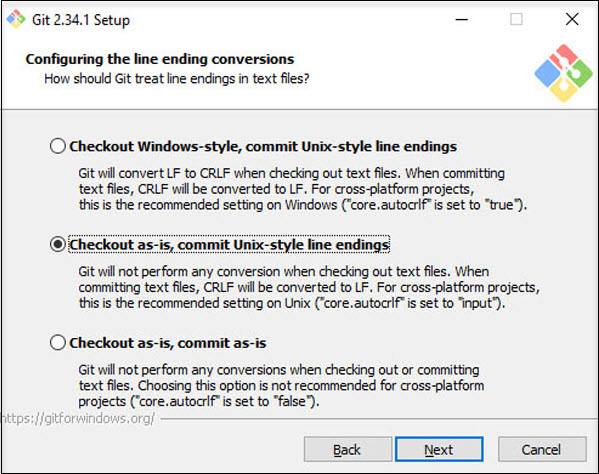
| Text files separate their lines with invisible line-ending characters. Annoyingly, different operating systems use different ones. Unix and Linux use The best compromise is to let Git handle this for you. All text files stored in the repository use |
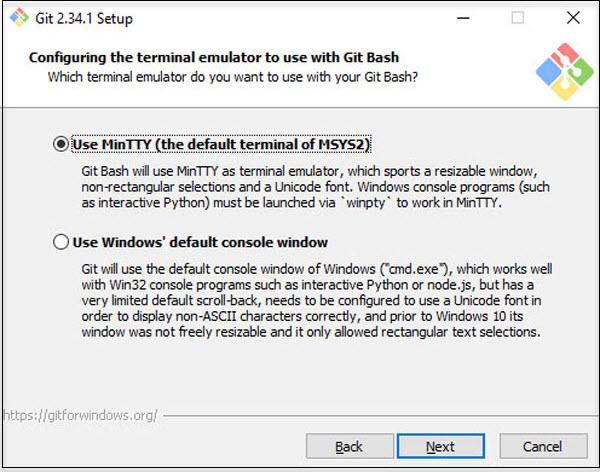
| As mentioned, Git uses MSYS to provide Unix-style commands on Windows. In addition to native Windows shells like the For working with J1 projects, a Windows command prompt is perfectly fine. Still, a real Unix shell can be handy from time to time, so leave the default unchanged. |
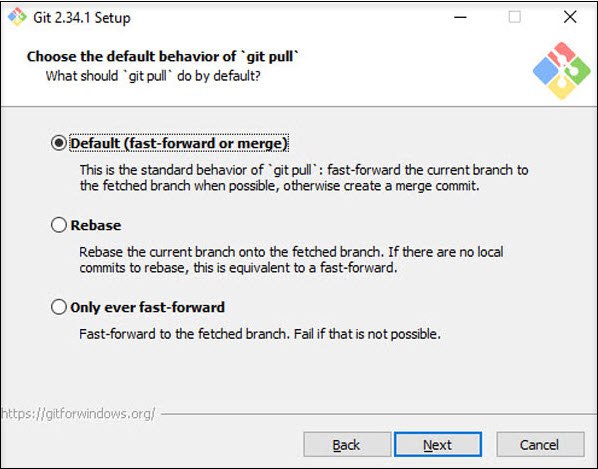
| You already know that Git is a distributed version-control system. The core idea is that there is a remote repository on a server somewhere and a local working copy on each developer’s computer. From time to time, the local changes have to be merged back into the remote. You can probably guess that merging changes from many people is not trivial and can produce conflicts. Git offers several strategies to do the merge. The simplest one is called fast-forward. Fast-forward merges work very well when the changes are small and frequent — which is exactly how most people work day to day. Keep this default setting. |
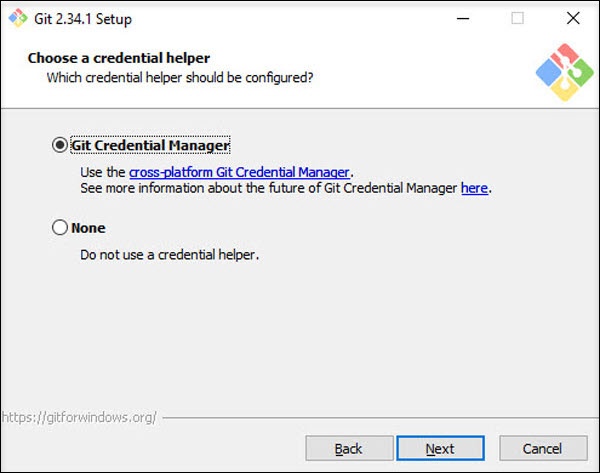
| You already know GitHub as a service provider and have an account there for managing your repositories. Unfortunately, the Internet is not always a peaceful place: passwords and access tokens have to be stored carefully. The Git Credential Helper takes care of storing your GitHub account information securely on your PC. Keep the default setting here for the simplest and safest way to authenticate to GitHub. |
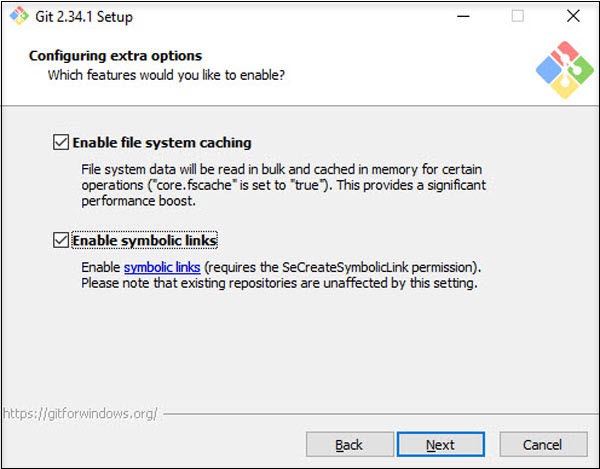
| Git can also use extended features of the operating system for handling files and directories. These extensions apply to every supported operating system. Keep both options enabled to get the best support for files and folders. |
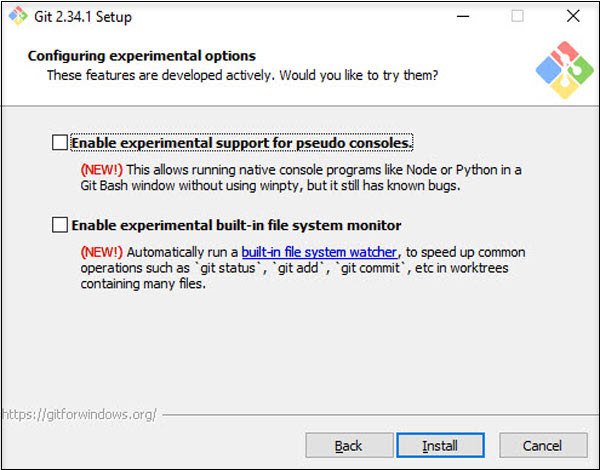
| Experimental features can be useful, but they are intended for experienced users. They are not required for using Git with J1 projects, so do not enable them here. |
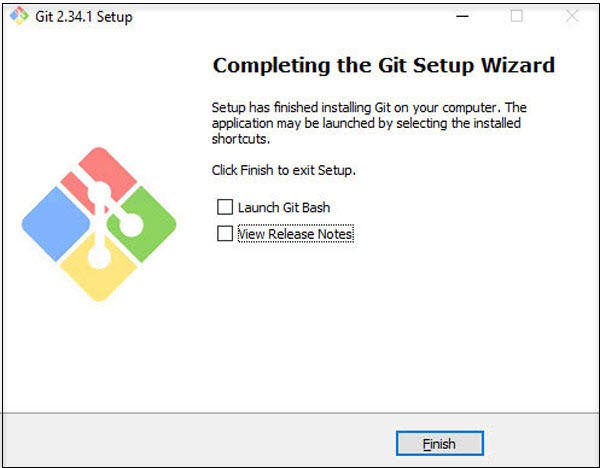
| You will work with version control throughout the next sections. There is no repository on your computer yet, so there is no point in starting a Git shell right now. It is worth reading the release notes of any software you install. The "what changed" information is especially useful when upgrading to a new major version. For a fresh install you can skip the release notes for now and come back to them later if you need to. |
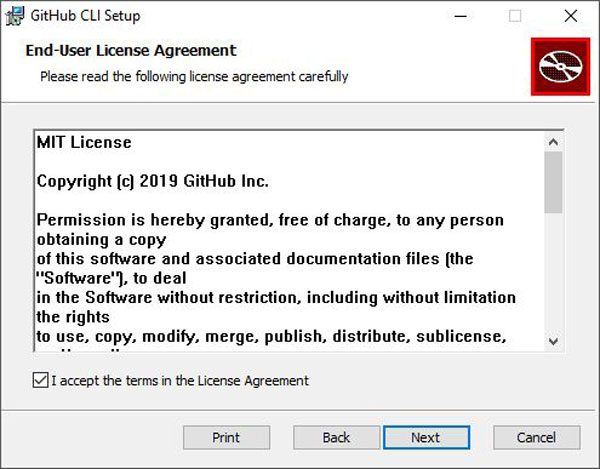
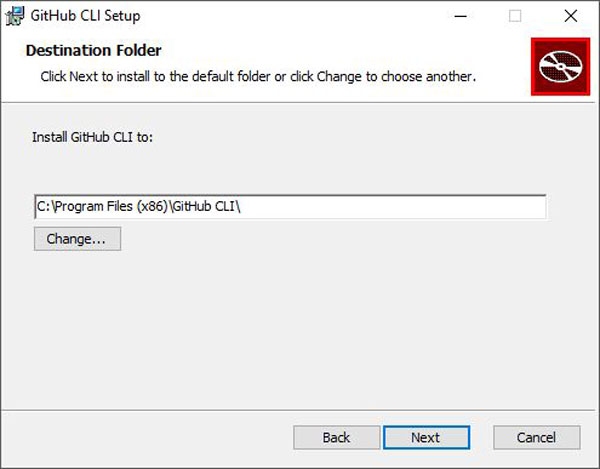
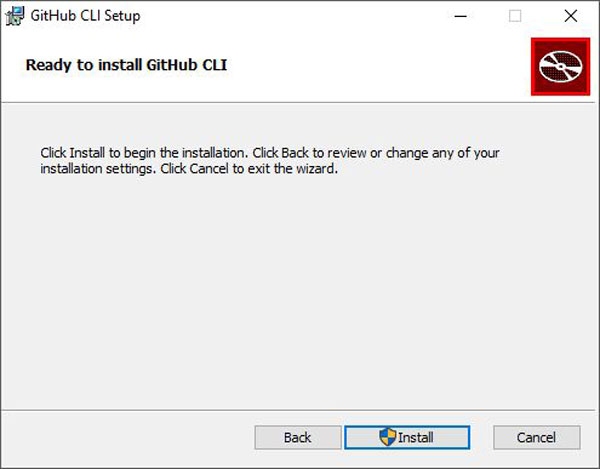
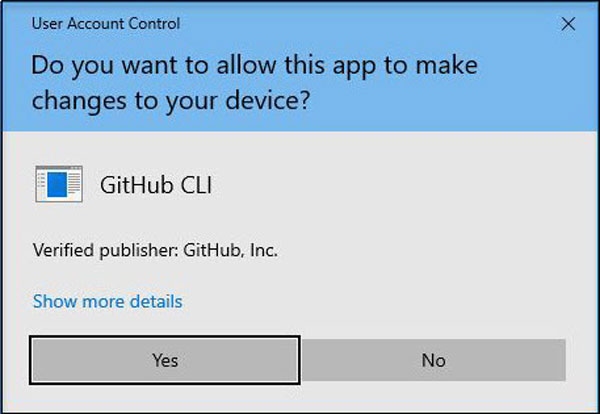
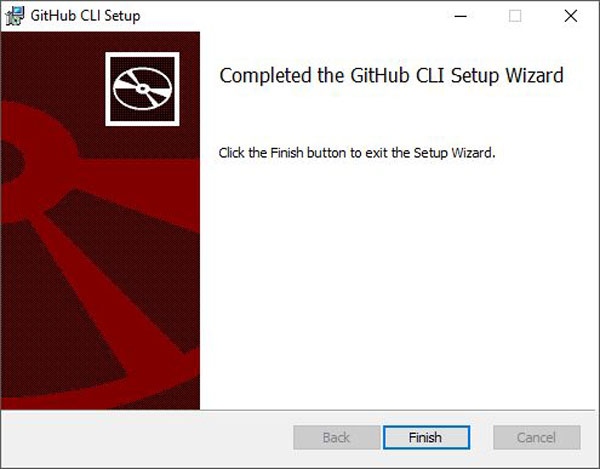
Install Github CLI
You will manage J1 projects mostly through short commands typed in a shell. The GitHub CLI (command-line interface) helps when those commands need to talk to GitHub directly — for example, when creating or cloning a repository.
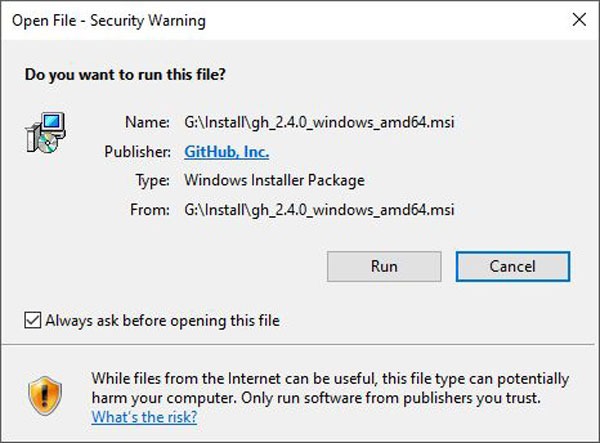
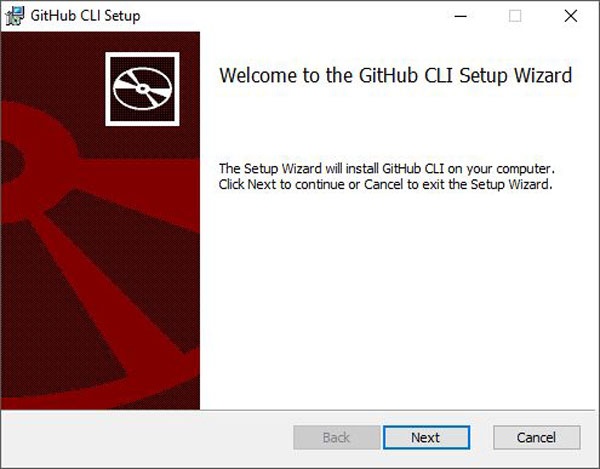
To download the installer, visit GitHub CLI Home, or use the direct link for the latest Windows installer (current as of 01/22): Installer v2.4.0.
Installation only takes a few steps.
Install Visual Studio Code
Installing the VS Code editor is quick. The installer chooses sensible defaults for nearly everything, so there is very little to configure afterwards.
Each step is annotated below to help you understand what the dialogs do.

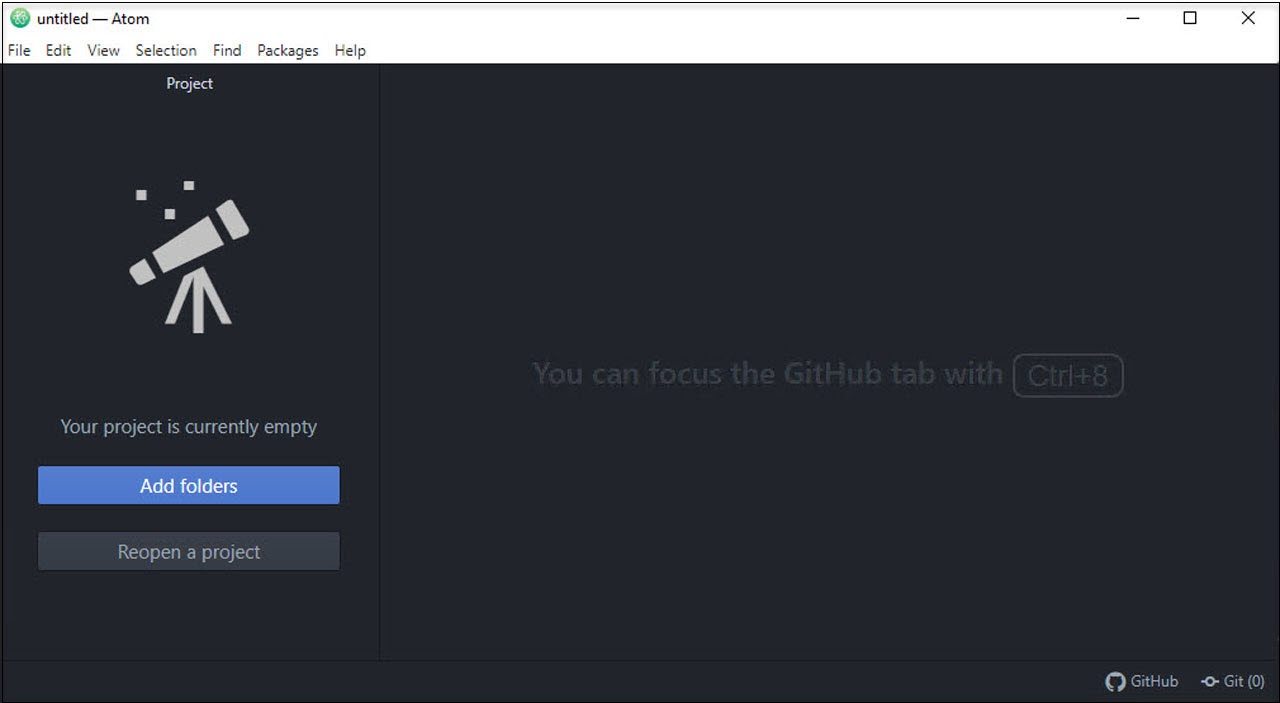
| The Atom installation runs fully automatically. The installer applies all the necessary default settings; you can adjust them later if you need to. When installation finishes, Atom starts automatically and asks a few follow-up questions. |
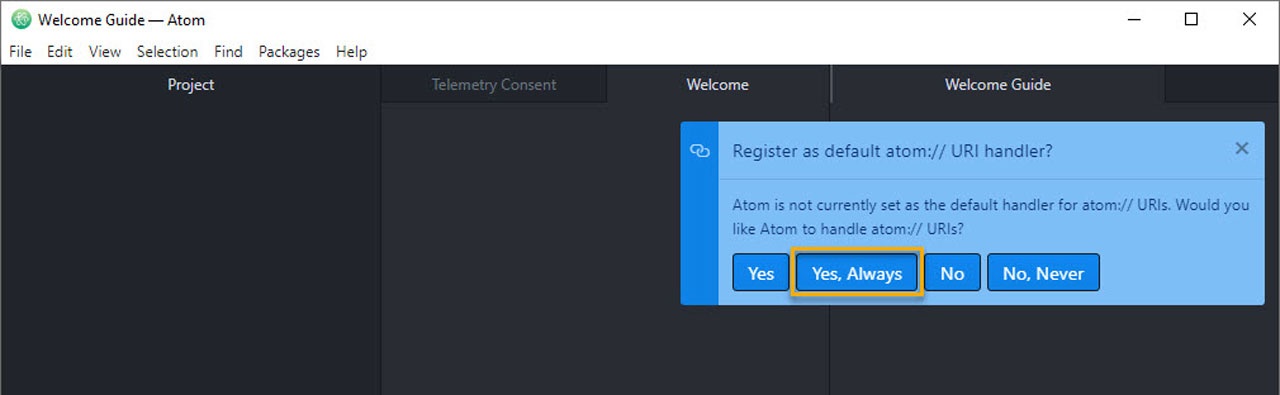
| A URI (Uniform Resource Identifier) is a short string that identifies a resource — typically a file, a network location, or a program. URIs are how the web finds and loads pages, and they also work for resources on your local computer. Atom uses URIs that start with |
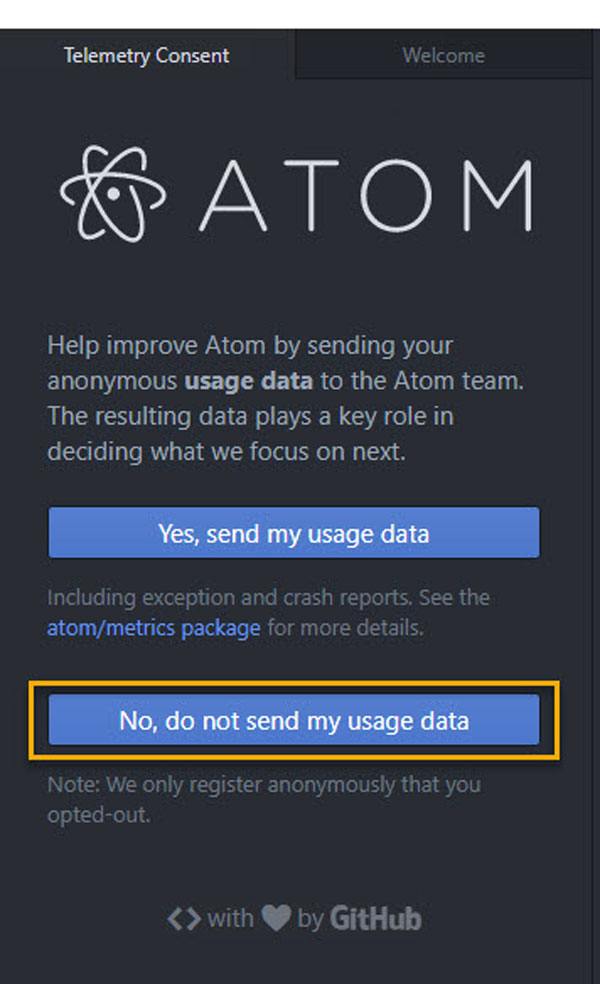
| Atom can send usage information back to its developers over the Internet to help them improve the product. Whether to allow this is up to you. The author of this tutorial uses Atom on Windows mainly for J1 projects, with a very simple setup; in that case the telemetry data is not very useful, so the option is turned off. But the choice is yours. |
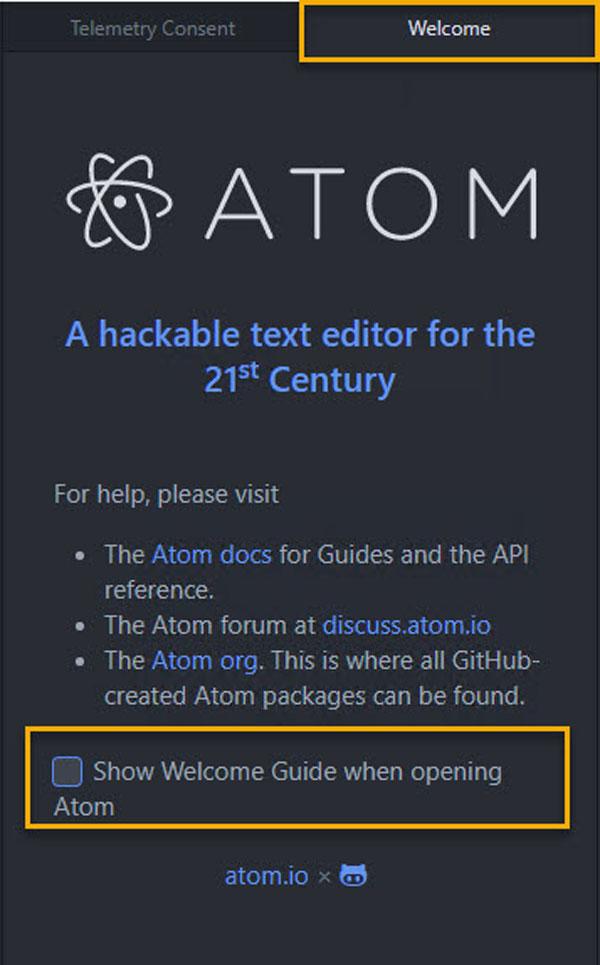
| You can choose to display a welcome guide every time you start a new Atom window. The first time you use Atom, the welcome tab can be helpful. Plenty of good tutorials on Atom are available online as well. Keep this option on or off as you prefer. You can disable the welcome tab at any time. |
Summarized
A lot you’ve learned, time to summarize what is behind. The last chapter should help with that. The section Summarize offers some handy sections to remember what has been presented in this chapter. And giving an outlook of what could be done next, an overview of all chapters of this tutorial, and useful links to learn more.
See all sections below:
Recap — What has been done, what’s explored in current section
What Next — Find to go further, what’s planned next
All Chapters — The full chain, all chapters
Further Reading — List of helpful links to get more
Recap
Installing the development system was not an easy job to do; unfortunately inevitable. One thing is promised, the following sections do not require any lengthy software installations. The installed programming languages are the basis for executing J1 Projects. However, no programming is required to edit a website as promised. The Ruby programming language is used as the runtime environment to run the Jekyll builder engine. Under no circumstances will you need to become a Ruby specialist. Some background information on dealing with Ruby programs is still helpful and is explained as small snippets in the subsequent sections.
NodeJS, the Javascript VM on your PC, only controls the project when editing websites. A J1 based web is a JS project that is very easy to operate. The built-in control requires very few commands that are quickly learned.
The tools Git and the Source Code Editor (Atom Editor) are often used. The repository will protect you from data loss and will be the safety net for the new web in the best sense. The editor is the main tool for editing a website and its pages. With a little practice, you can quickly learn to use the editor. After working with the editor for a very short time, you will understand why this tool is so important and indispensable for developers.
What Next
A hard piece of work is done: the development system is in place. Now it will be a matter of copying the central repository, the so-called remote, to your local PC and connecting it to the repo on Github. This step is creating a working copy of your website, the so-called local. In the following section, you will know all the necessary work steps for managing J1 Projects.
There are different ways to create a J1 project or a new website. You already know one way: 1-click deployment via Netlify. This type of deployment has been automatically created a new repo in your workspace on Github. The opposite way is, of course, also possible. That means you first create a J1 project locally on your PC and then connect the local project as a Git Repo with Github. It is also very easy to provide the website via Netlify. Only a few steps are required to publish locally generated sites via Netlify.
Now you should bring your new website on your local PC or create new websites from scratch. Some important processes are to be learned to manage J1 projects, to prepare websites for the real world. Make your real website alive from J1 Projects by learning the priciples.
Explore the J1 Project management.
All Chapters
Find here an overview on all chapters this tutorial:
Meet & Greet
A awesome Site
You are here — Development System
Project Management
Creating Content
Further Reading
Reading this chapter is not essential for working on the project first time. Additional links will be helpful to learn more. The references point to important sources of manufacturer documentation. Here you can find out all the possibilities what the products can offer. Experiences from others are extremely important when dealing with software and more complex projects. Links to other sites may answer common questions from the experience of professionals. Here you can think far outside the box of a project currently worked on.
Further links in the current section.